Make SSL Secure by removing Mixed Content on your WordPress
Bought SSL Certificate and after installation due to some reasons, it throws SSL Warning on Browser? One of the reasons could be Mixed Content on your website. Let’s discuss What Is Mixed Content?
A Website consists of HTML, images, videos, javascript and stylesheets files. When your site is loaded in the browser, the HTML that is loaded will contain links to the images, javascript and CSS files, the resources of your website. If your HTML is loaded over https, and a load of your resources (partly) over HTTP, the content is “mixed”. There can also be other causes: an image that loads over https but gets redirected to HTTP for example. Finding these insecure resources in the browser is usually not so difficult. Finding which plugin or which file in your theme uses the image is often the hard part.
How to confirm if your website has mixed content?
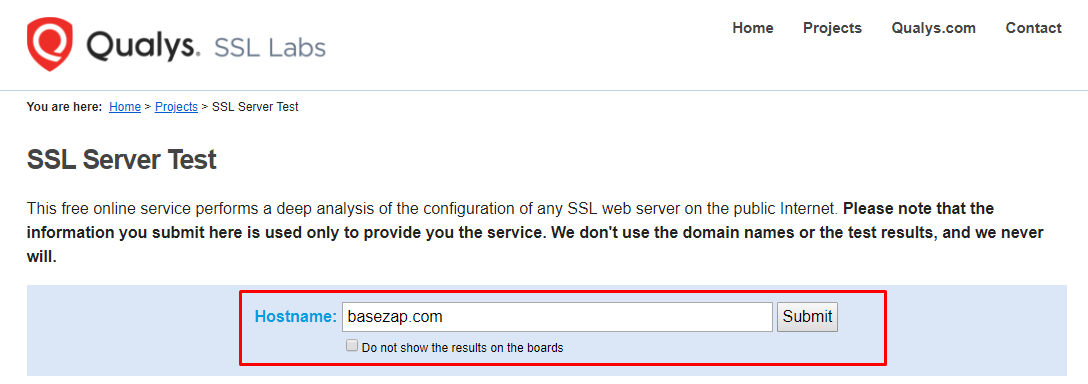
- Open the following URL and Enter your domain name in the text field and run the tests.
https://www.ssllabs.com/ssltest/
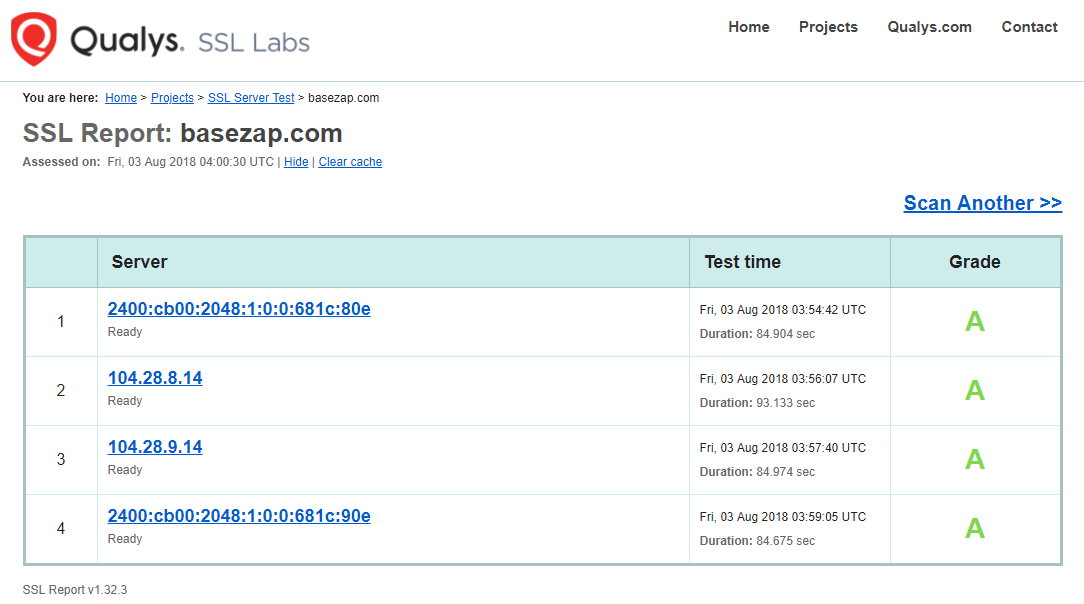
Note – Test Results may take 2-3 mins to finish.
- If you don’t get a grade A in test results then, you should install a valid SSL certificate for your domain on your web server and then proceed further websites.
- Now Open your Website in Web Browser and Look for Following Images in the Address/URL bar. Look at the images below for identification.
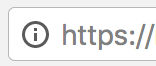
Insecure Mixed Content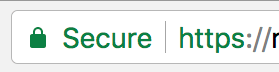
Secure SSL without any Mixed Content
How to fix Mixed Content on your WordPress Websites?
There are many both free and paid WordPress plugins available out there. We will use an open-source free plugin that is safe and secure.
- We need to Force HTTPS on our WordPress website by .htaccess.
Kindly follow our guide to Force HTTPS for WordPress websites by .htaccess
https://www.basezap.com/force-https-for-wordpress-websites-by-htaccess - Login to your wp-admin Dashboard
- Go to plugins and select the Add New Option.
Search for SSL Insecure Content Fixer By WebAware and install it followed by Plugin Activation
Plugin Link – https://wordpress.org/plugins/ssl-insecure-content-fixer/ - After Successful Installation and Activation of the plugin. Go to Settings in the left sidebar followed by SSL Insecure Content.
- There we can see the various level of fixing. Try the Simple level first.
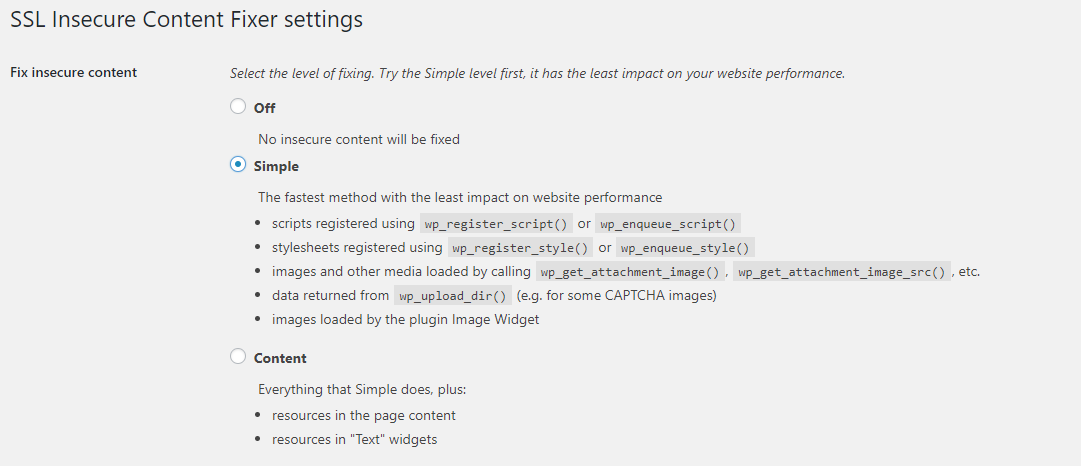
- Other Settings in Plugin can be kept as default ones.
- Under the HTTPS Detection method, it is recommended to select the standard WordPress function.
- Press the Save Button to save the changes done in settings.
- Open your WordPress Blog in Incognito/Private Mode for testing the HTTPS connection.
- If SSL Warnings are not fixed, repeat steps 4-8 with successive levels of fixing methods like Content, Widgets, Capture and Capture All.
If you are unable to fix the SSL hosted on BaseZap Servers, kindly open a ticket from your BaseZap Hosting Account. We will do it for you.