Guide to Setup Railgun Listener on CentOS 6/7 Web Server
Railgun is a WAN optimization technology developed by Cloudflare and is available to Cloudflare Business and Enterprise customers, as well as Optimized Partners. Railgun requires a piece of software called the Railgun Listener to be installed on your web server’s network.
Railgun is a single daemon that runs on a 64-bit system which uses alternative compression techniques to dramatically speed up WAN performance. It proxies traffic through a special protocol that would normally travel between Cloudflare and your origin server over HTTP.
Requirements
- Sudo access for the web server
- Railgun Activation Token from Cloudflare
Procedure
- Login to your web server where you want to install Railgun listener
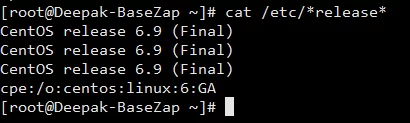
- Check your CentOS Release
cat /etc/*release*
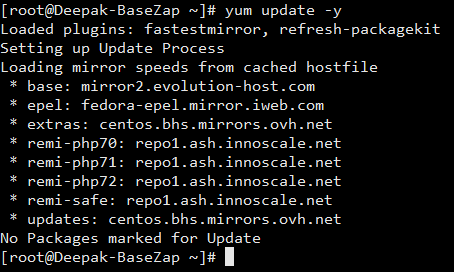
- Update your existing packages
yum update -y
- Install RPM to add the repository (replace <VERSION> with the release version number)
sudo rpm -ivh http://pkg.cloudflare.com/cloudflare-release-latest.el<VERSION>.rpmExample –CentOS 7 – sudo rpm -ivh http://pkg.cloudflare.com/cloudflare-release-latest.el7.rpm
CentOS 6 – sudo rpm -ivh http://pkg.cloudflare.com/cloudflare-release-latest.el6.rpm

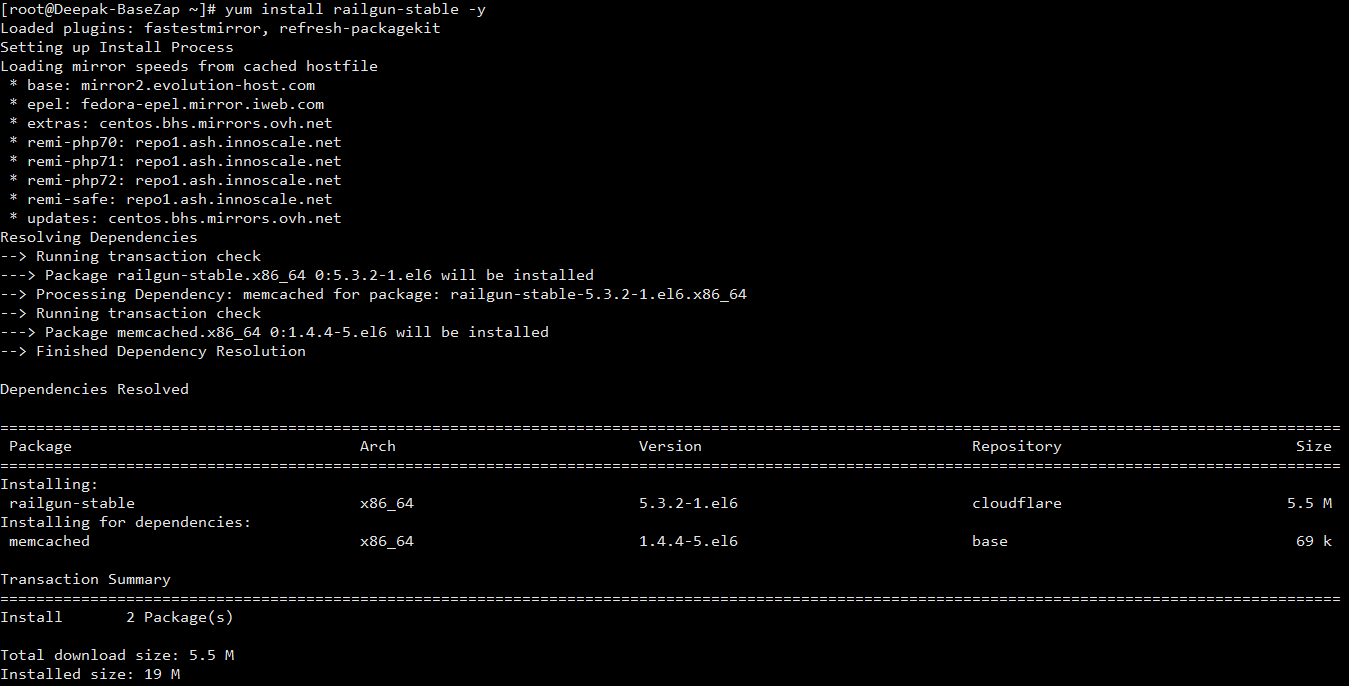
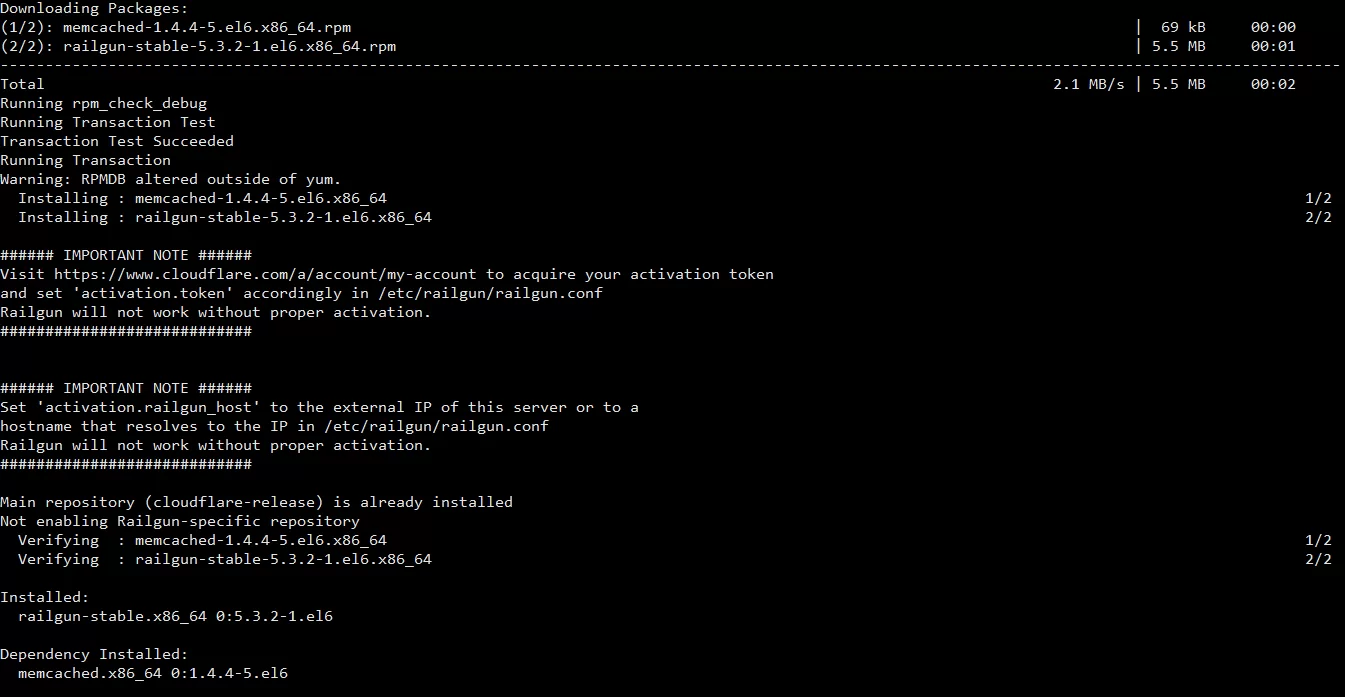
- Install railgun package
yum install railgun-stable -y
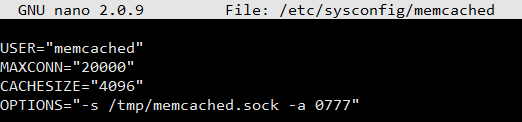
- Edit Memcached config file accordingly /etc/sysconfig/memcached
nano /etc/sysconfig/memcached
We will remove port and make Memcached run on Socket instead of Port.
We will set the cache size to 4096MB i.e 4GB
For us, maximum connection limit will be 20000We will set the path of the Memcached socket file in /tmp directory with 777 permissions in OPTIONS variable
OPTIONS="-s /tmp/memcached.sock -a 0777"
This is how our Memcached config file will look like.
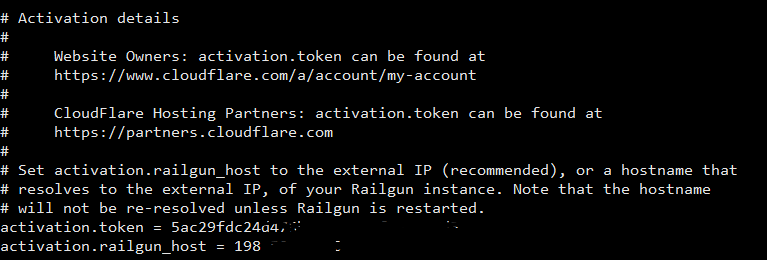
- Edit Railgun config file for Activation Token and few other things /etc/railgun/railgun.conf
nano /etc/railgun/railgun.conf
Get Activation Token
Website Owners: activation.token can be found at
https://www.cloudflare.com/a/account/my-account
Cloudflare Hosting Partners: activation.token can be found at
https://partners.cloudflare.comBaseZap Customers can contact us for Railgun Token Details.
Enter your activation token in activation.token variable
Enter your web server public IP in activation.railgun_host variable
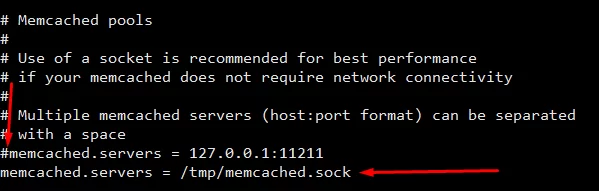
 Comment out using ‘#’ or delete memcached.servers variable with localhost IP and port.
#memcached.servers = 127.0.0.1:11211
Set socket file path using memcached.servers variable in railgun config file
memcached.servers = /tmp/memcached.sock
- Start Memcached and Railgun
service memcached start
service railgun start

- Add Memcached and Railgun to startup file that will start them at boot up
chkconfig memcached on
chkconfig railgun on - If all above steps are performed successfully then your railgun setup has been completed.