How to Install Nginx, MySQL, PHP (LEMP) Stack on CentOS
This guide will help you install Nginx, MySQL, PHP (LEMP) Stack on CentOS machine i.e. Server. LEMP is a software stack comprised of Nginx as Web Server and MySQL as Database server along with PHP as the dynamic content processor for websites. LEMP term is actually an acronym that represents the Linux, ENginx (replaces ‘A’ from Apache LAMP Stack), MySQL and PHP. LEMP stack is considered better than of LAMP stack because the Nginx web server provides various extra features like inbuilt caching configuration, reverse proxy, load balancing, etc. It can also be configured to manage heavy traffic load on the websites and is an efficient web server available in the market.
There are only a few simple steps to install Nginx, MySQL, PHP on CentOS and we will just require a machine with CentOS installed which fulfills our first requirement.
Requirements
- Sudo/Root Access to the CentOS 6/7 system
(root users can skip usingsudoin commands discussed below)
Procedure
Install Nginx Web Browser
- The very first step will be upgrading the system with the latest packages. You can use the following command to update the system. The command can take some time depending on the number of packages requiring update.
sudo yum upgrade -y

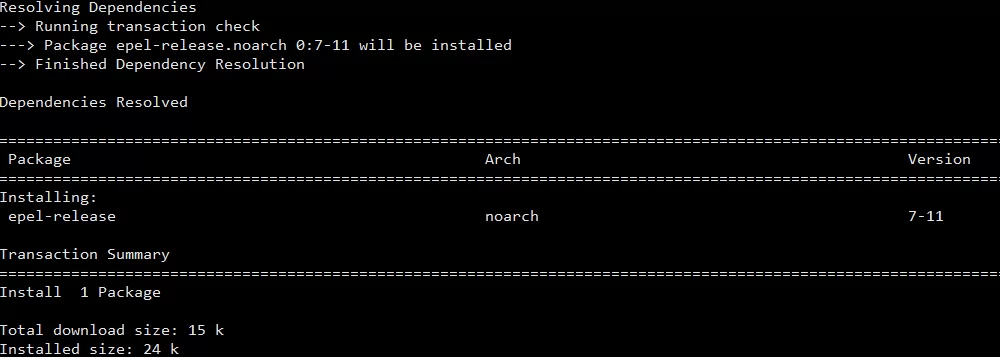
- To install Nginx we need to add CentOS EPEL Repo to the server. You can do that by running the following command.
sudo yum install epel-release -y
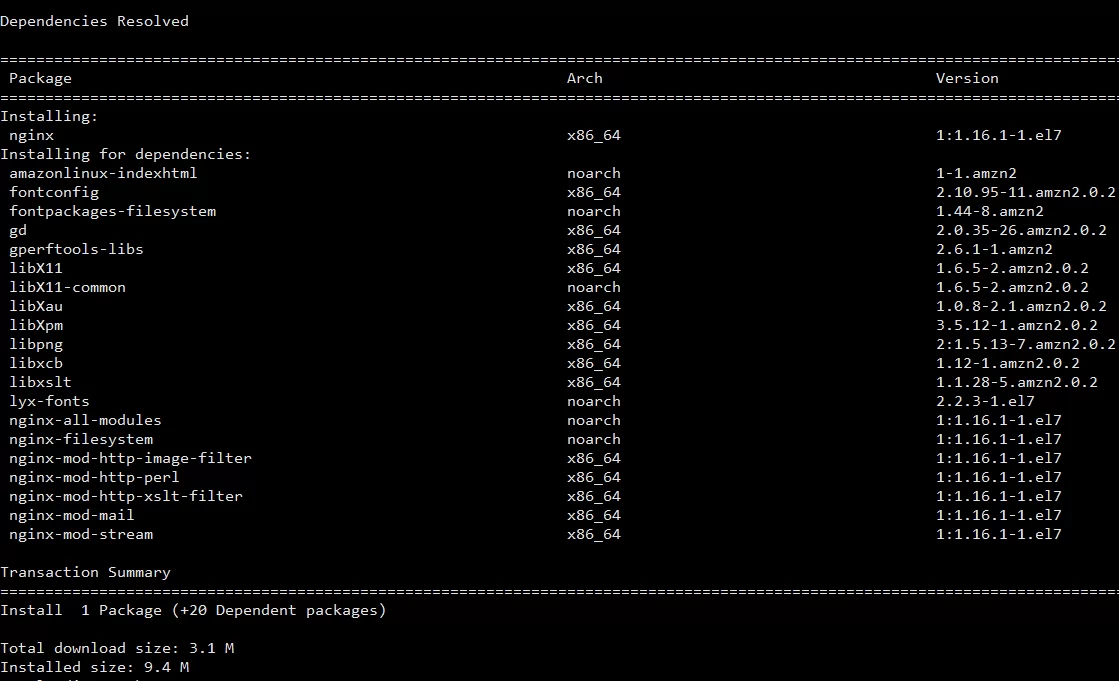
- Now, we can proceed by installing the Nginx web server package by using basic install command.
sudo yum install nginx -y
- After a few seconds or minutes, your Nginx will be installed. We will fire up the Nginx on the server by using the command given below.
CentOS 6:sudo service nginx start
CentOS 7:sudo systemctl start nginx - Enable the Nginx service on the server and set it to autostart on boot using the following command.
CentOS 6:sudo chkconfig nginx on
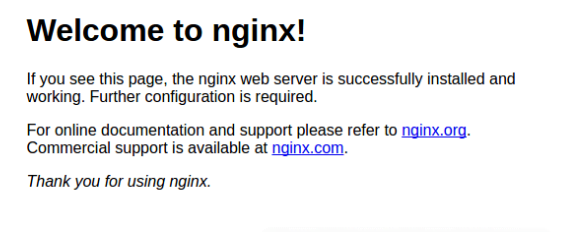
CentOS 7:sudo systemctl enable nginx - Now, to check Nginx is properly serving the webpages from the server you need to open the server IP in a web browser. If you are not sure about the server’s IP. We can run the following command to find the IP.
curl ifconfig.me

It will return IP in the next line like the image below. - Open the Server IP in a web browser and you will get the webpage similar to the following image. This is the default Nginx webpage.
http://put_server_IP_address_here
Install MySQL (MariaDB)
-
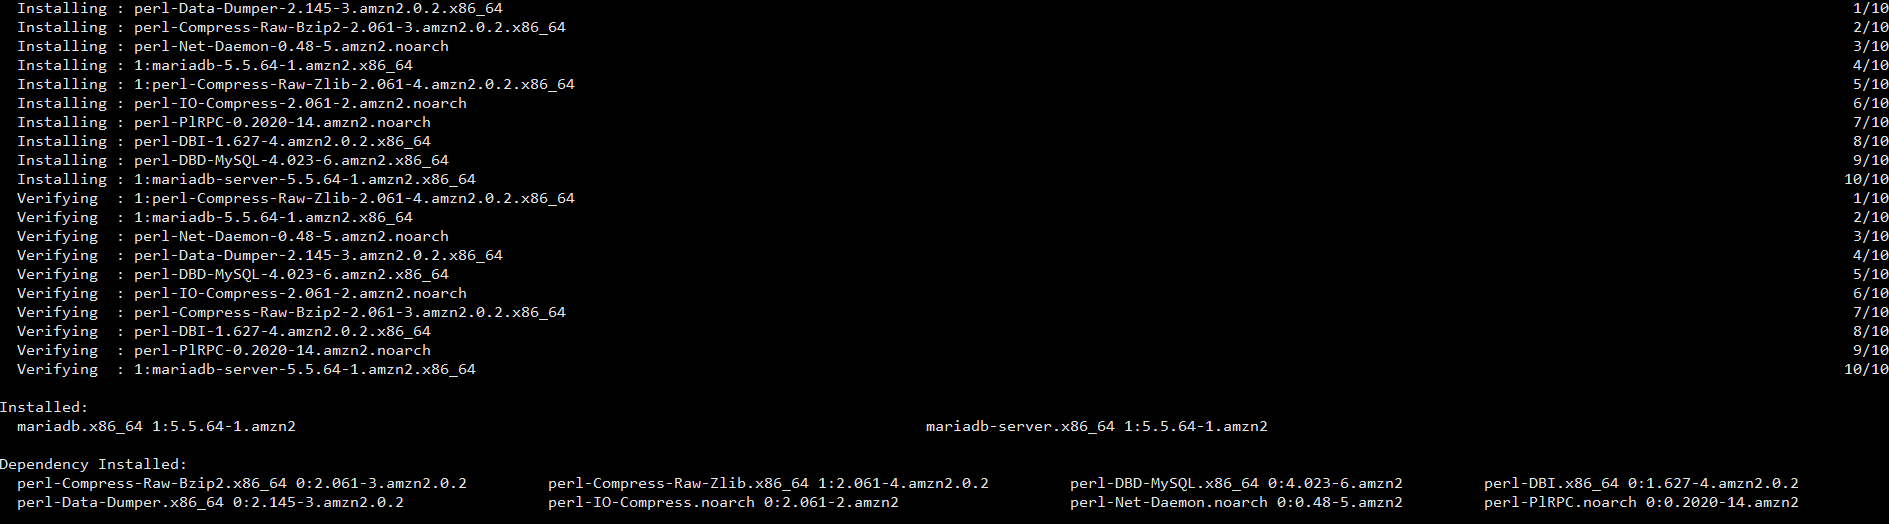
- MariaDB can be installed with a simple install command with a yum package manager.
sudo yum install mariadb-server mariadb -y
- After installation, if successfully finished, we will need to start the MariaDB server using the following command.
CentOS 6:sudo service mariadb start
CentOS 7:sudo systemctl start mariadb - Its time to initialize the MariaDB Server and remove few default configurations to secure the DB Server. Run the following command in the terminal.
sudo mysql_secure_installation - The initialize script is like a setup wizard which will ask a few questions. We will discuss them below one by one.
- Enter current password for root (enter for none):
It is a fresh installation so just press enter(return) key. - Set root password? [Y/n] : Y
Set the desired root SQL user password after pressing Y Key followed by the enter button.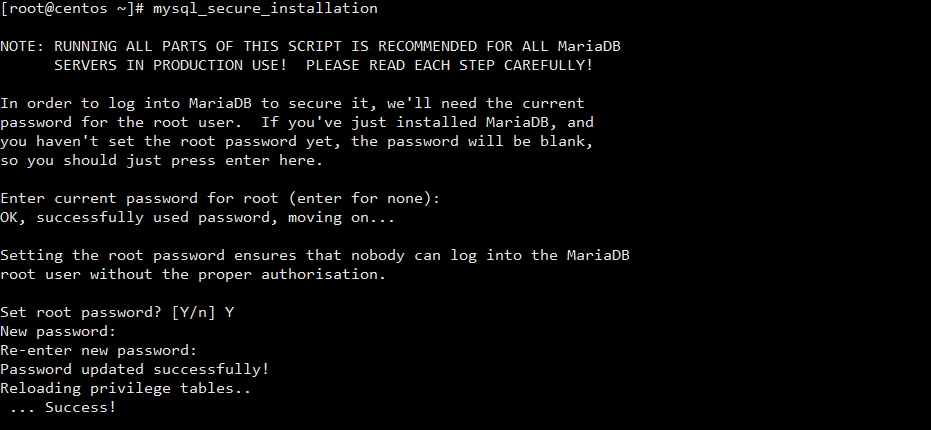
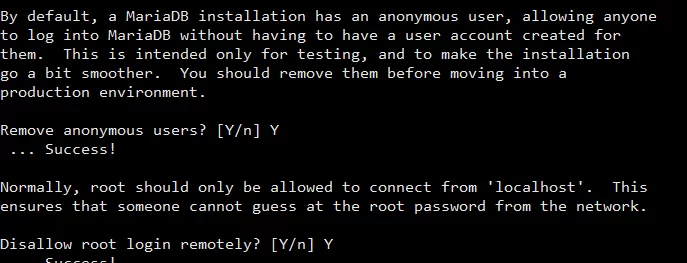
- Remove anonymous users? [Y/n] : Y
This will remove default anonymous users from the database server. - Disallow root login remotely? [Y/n] : Y
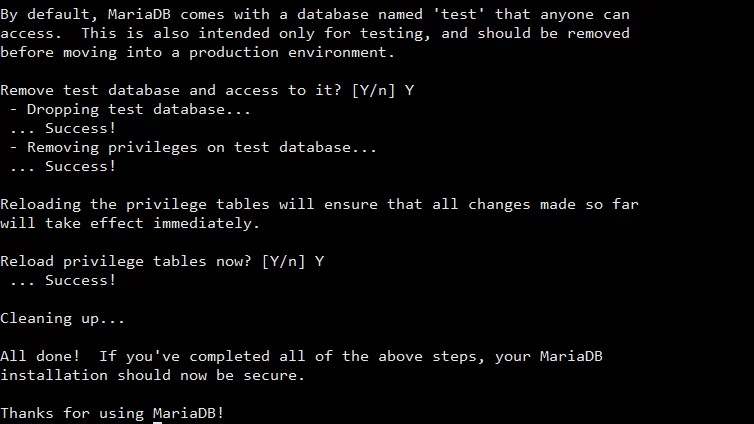
This will disable root login connection requests from remote. - Remove test database and access to it? [Y/n] : Y
By default, DB Server comes with some default databases and users for testing purposes. We do not need them and will consider removing them. - Reload privilege tables now? [Y/n] : Y
This will ensure all the changes and options selected above will be saved on the database server. It is alsoflush privilegescommand ran by the initialization script.
- Enter current password for root (enter for none):
- Enable the MariaDB service on the server and set it to autostart on boot using the following command.
- CentOS 6:
sudo chkconfig mariadb on
CentOS 7:sudo systemctl enable mariadb
- MariaDB can be installed with a simple install command with a yum package manager.
Install PHP
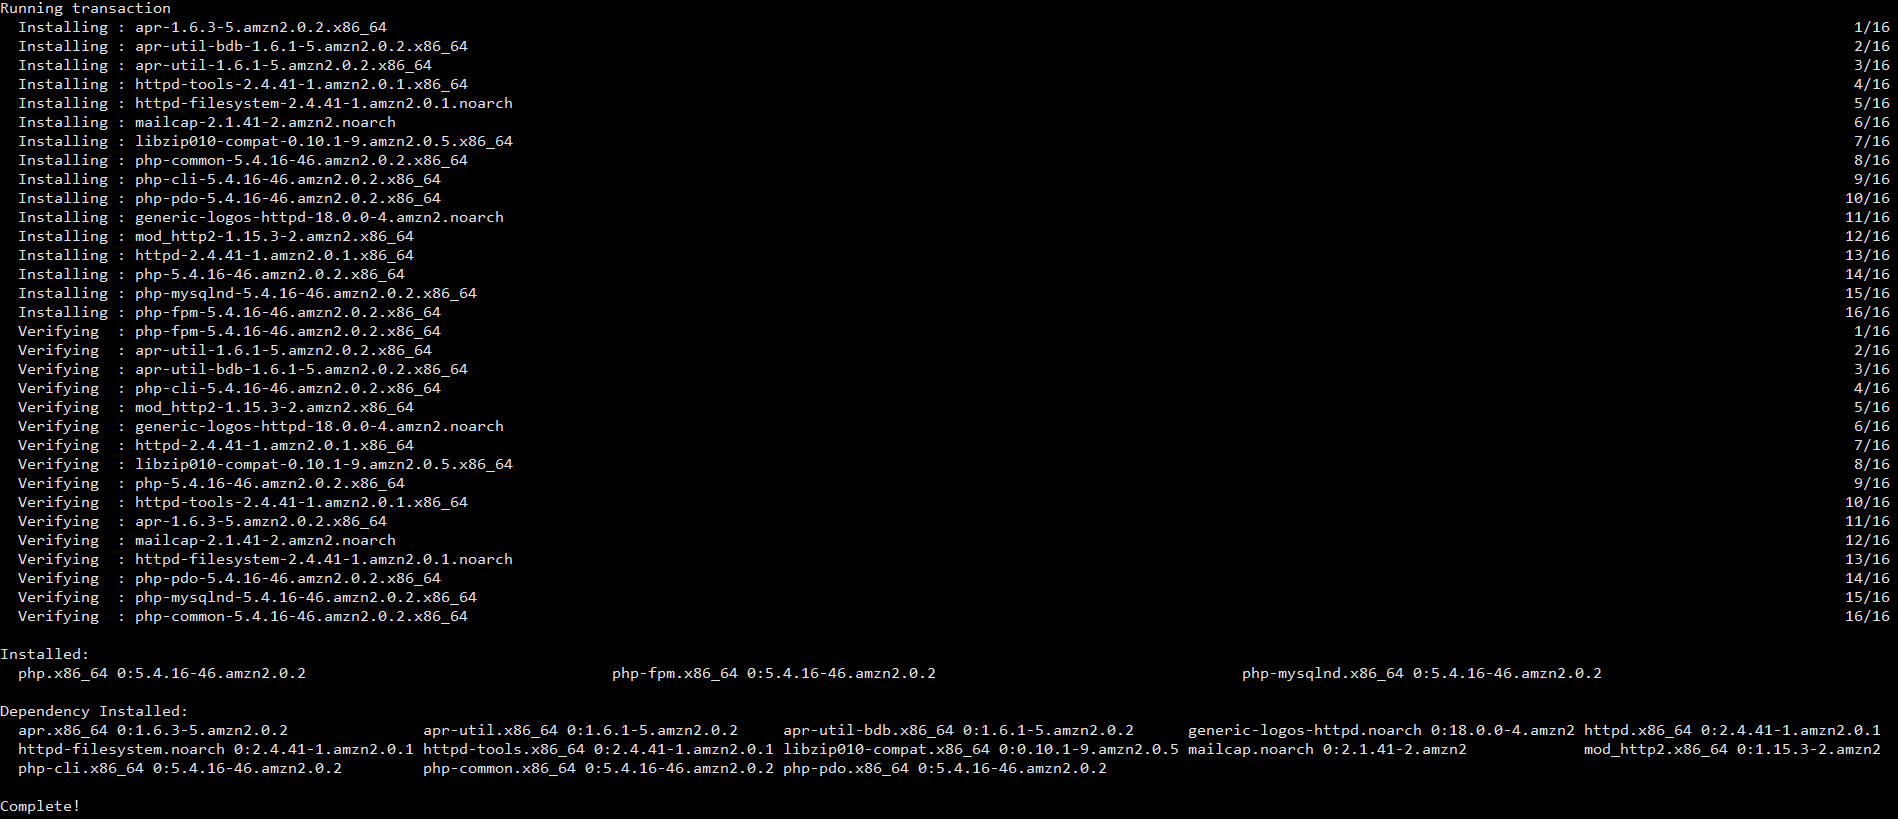
- Install PHP Processer packages using the following command.
sudo yum install php php-mysql php-fpm -y
- Check if PHP is properly installed by running the command below.
php -v

- Now we need to configure the PHP Processor so that it can process PHP Pages with the Nginx web server. We need to edit
/etc/php.inifile. You can use any favorite file editor.
sudo nano /etc/php.ini - Look for cgi.fix_pathinfo variable in php.ini file. This will be commented out with a semi-colon (;) and set to “1” by default. Change it to the following and save the file.
cgi.fix_pathinfo=0

- Now we need to open the php-fpm configuration file
www.conf
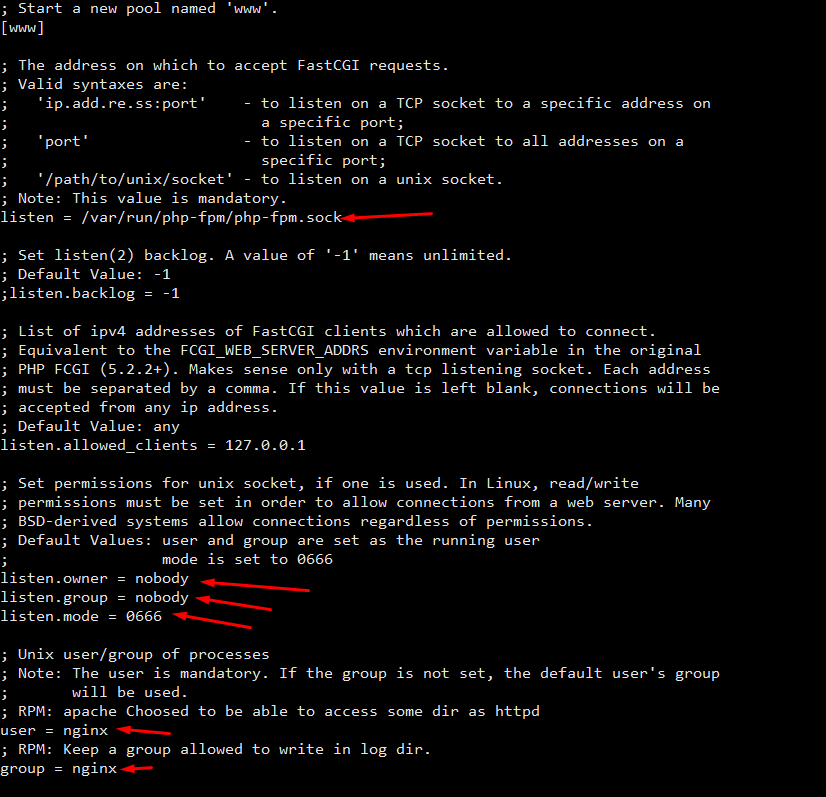
sudo nano /etc/php-fpm.d/www.conf - Find the line which specified
listenparameter inwww.conffile and change it to the following and save the file
listen = /var/run/php-fpm/php-fpm.sock - Now, find the variables that are set to the
listen.ownerandlisten.groupand uncomment them.
listen.owner = nobody
listen.group = nobody - Now, find the lines that set the
userandgroupand change their values from “apache” to “nginx”. Also, setlisten.modeto 0666
user = nginx
group = nginx
listen.mode = 0666
- Start PHP Processor using the following command.
- CentOS 6:
sudo service php-fpm start
CentOS 7:sudo systemctl start php-fpm - Enable the php-fpm service on the server and set it to autostart on boot using the following command.
CentOS 6:sudo service php-fpm start
CentOS 7:sudo systemctl enable php-fpm
Configure PHP Pages processing in Nginx configuration
- Edit the nginx.conf file in
/etc/nginx/nginx.conflocation and fine the server block for port 80. It will be similar to the below lines of code.
server {
listen 80 default_server;
listen [::]:80 default_server;
server_name _;
root /usr/share/nginx/html;# Load configuration files for the default server block.
include /etc/nginx/default.d/*.conf;location / {
}error_page 404 /404.html;
location = /40x.html {
}error_page 500 502 503 504 /50x.html;
location = /50x.html {
}
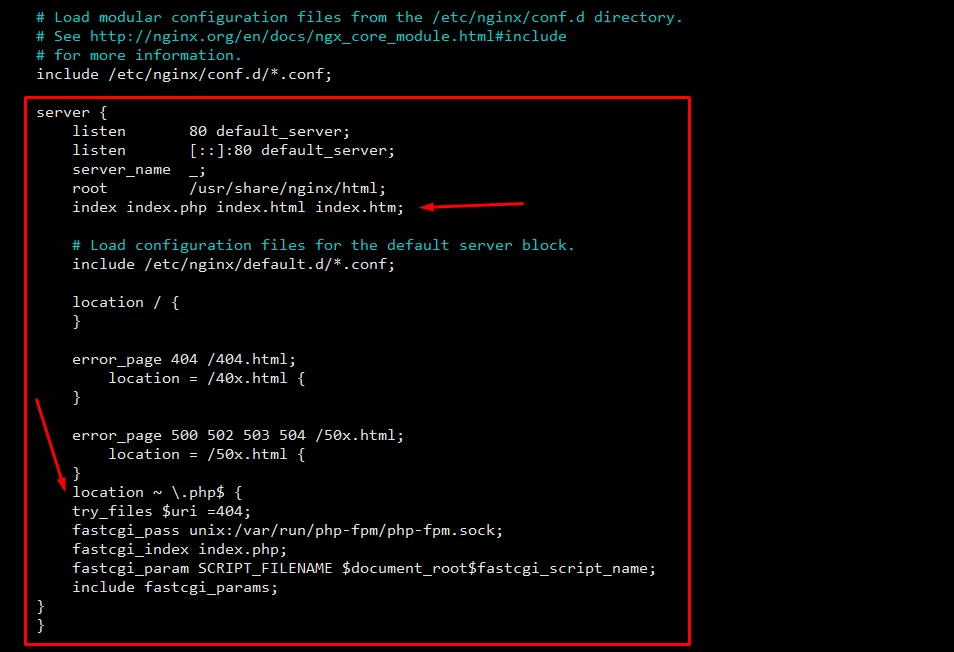
} - Replace the full server block with the following lines of code. The text in bold are the extra changes that have been added to the default nginx.conf file.
server {
listen 80 default_server;
listen [::]:80 default_server;
server_name _;
root /usr/share/nginx/html;
index index.php index.html index.htm;# Load configuration files for the default server block.
include /etc/nginx/default.d/*.conf;location / {
}error_page 404 /404.html;
location = /40x.html {
}error_page 500 502 503 504 /50x.html;
location = /50x.html {
}
location ~ \.php$ {
try_files $uri =404;
fastcgi_pass unix:/var/run/php-fpm/php-fpm.sock;
fastcgi_index index.php;
fastcgi_param SCRIPT_FILENAME $document_root$fastcgi_script_name;
include fastcgi_params;
}
}
- Restart Nginx webserver to integrate the new configuration changes.
- CentOS 6:
sudo service nginx start
CentOS 7:sudo systemctl restart nginx
Test PHP File processing
- Create an
info.phpfile in the CentOS Nginx root directory i.e./usr/share/nginx/wwwwith the following line of code which will show the PHP information.
<?php
phpinfo();
?>
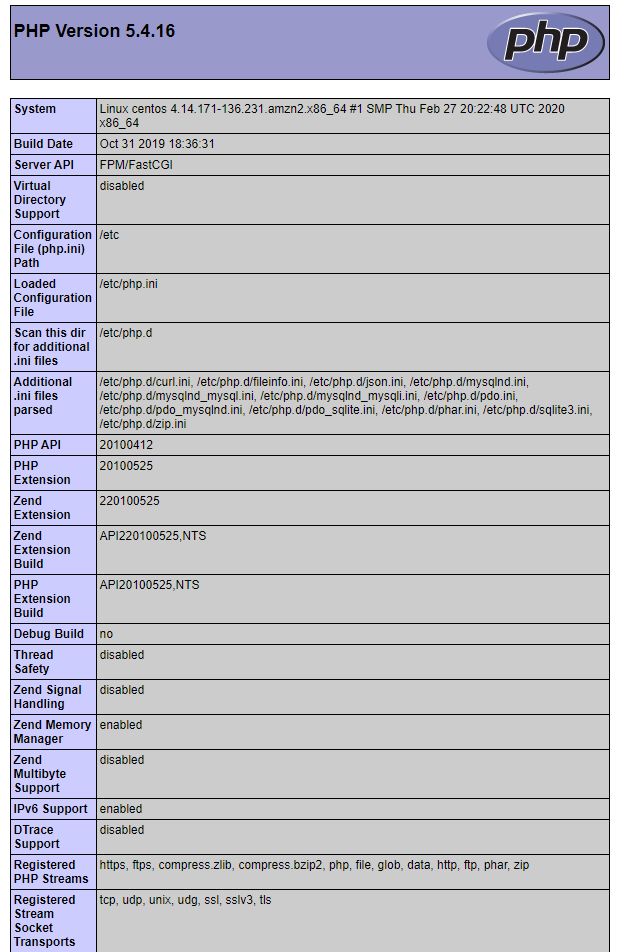
Save and close the file. - Now open the following in a web browser and you will get the webpage similar to the following image.
http://put_server_IP_address_here/info.php
- After you have verified the PHP processing you can remove the info.php file.
rm /usr/share/nginx/www/info.php
We hope this has helped you to install Nginx, MySQL, PHP (LEMP) stack on the CentOS Server. Now, you can proceed to add PHP, HTML, CSS websites on the server as it will support most of the dynamic content serving websites based on PHP.
Find more guide on Linux/Unix here: Click Here
Find how to install Nginx on cPanel/WHM Server: Click Here
Feel free to reach us out if you need kind of assistance with any technical queries. Shoot us an email at technical@basezap.com, and our professional experts will get in touch with you.