Install ClassicPress with LiteSpeed Caching in cPanel
ClassicPress is a community-led open-source lightweight CMS and a fork of WordPress. It has strong security, minimal bloat, and hence has excellent speed capabilities.
We here at BaseZap support ClassicPress on our wide-range of services from shared hosting to managed VPS and dedicated servers. 
Installing ClassicPress with LiteSpeed Caching Plugin can be achieved in a few simple steps as displayed below with its perquisites :
Requirements
- cPanel with LiteSpeed Web Server
- Softaculous Auto Apps Installer in cPanel
- LiteSpeed Web Cache Manager Plugin enabled for cPanel
Procedure
- Login to your cPanel account.
- Add your domain to cPanel under the add-on/sub-domain section if not added. We will use yourdomain.com as an example in the guide.
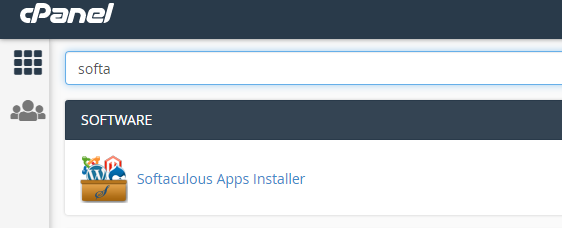
- Search Softaculous in the top search bar and click on it.
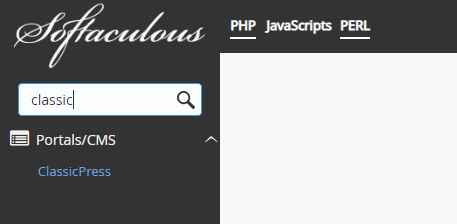
- Softaculous Homepage with popular scripts will show up on your screen. Search ‘ClassicPress’ in the left sidebar as in the image below and click on it.
- Softaculous will show the Default page with a couple of information about ClassicPress. If you are a first time user of ClassicPress ClassicPress, then you can read about it here.
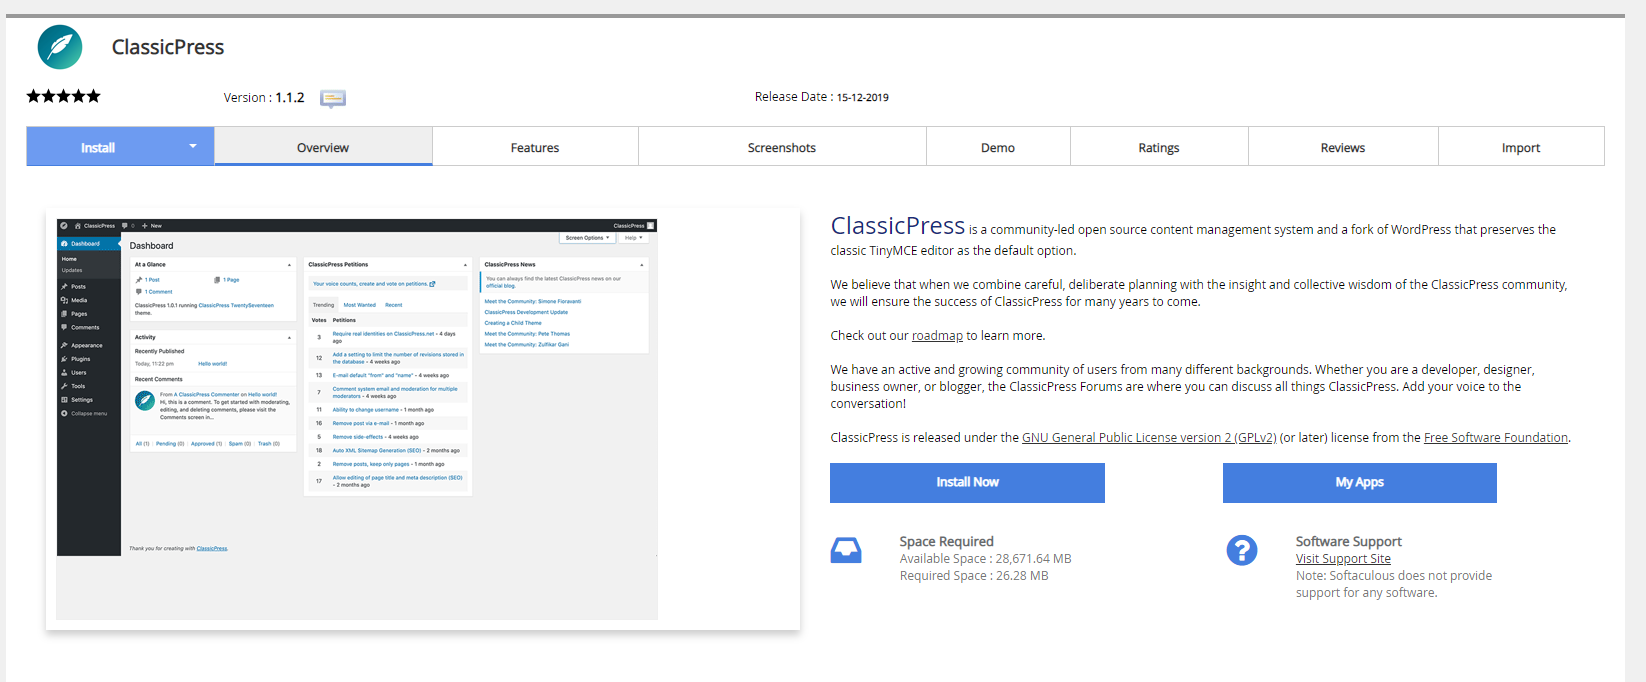
- Press the Install Now button, which will show a new page asking for the necessary details required to complete the installation.
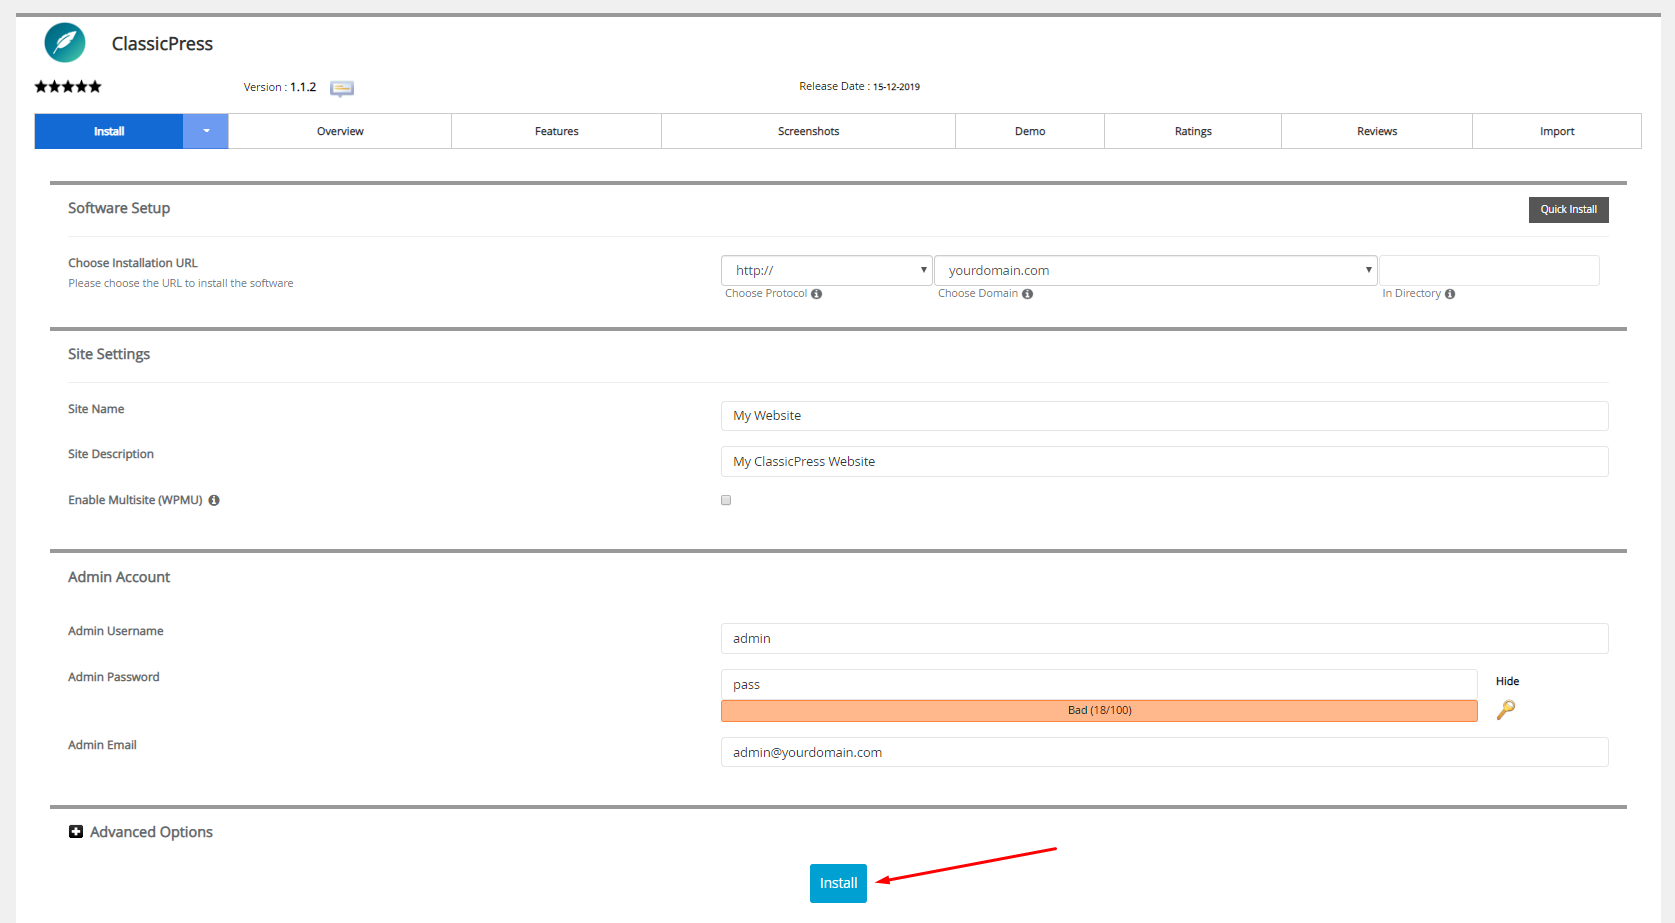
- Fill the required details in the fields and click on the Install button at the bottom of the page.
- After a successful installation, it will show a similar screen on your system.
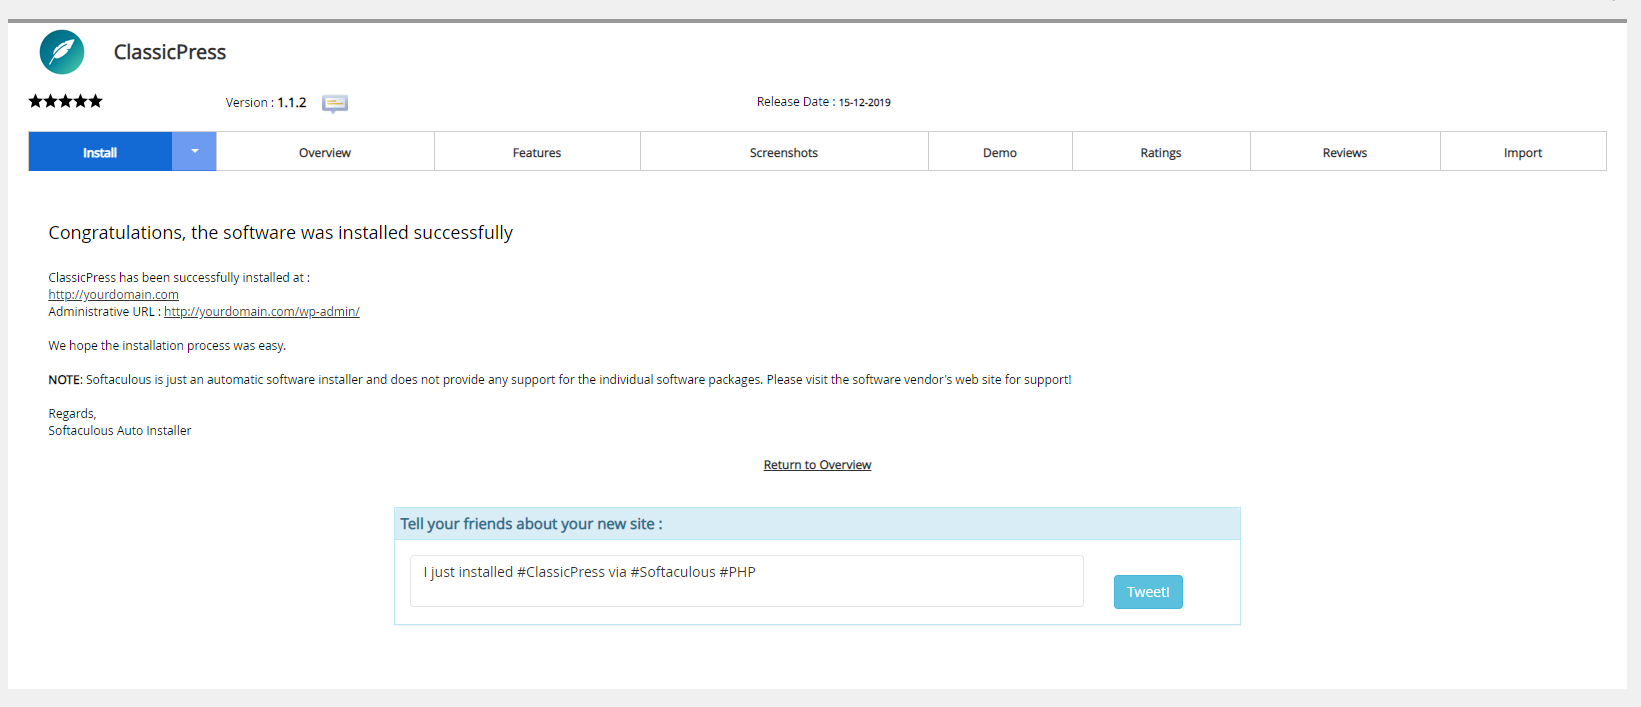
- You can now try logging in to your ClassicPress Dashboard (Admin Panel).
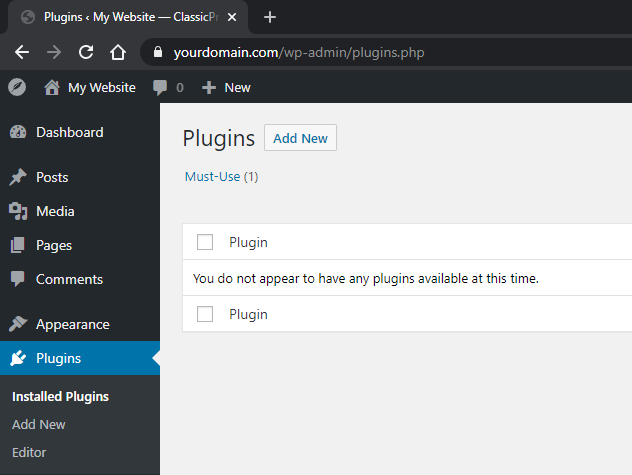
- If you check the fresh installation, you will find no plugins pre-installed, and the Installed Plugins section will be empty like the below image.
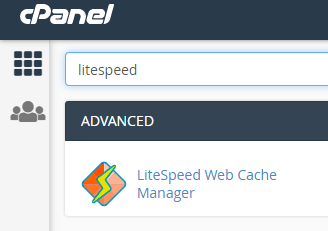
- Now we will proceed with installing LiteSpeed Caching Plugin from cPanel Homepage and searching for it.
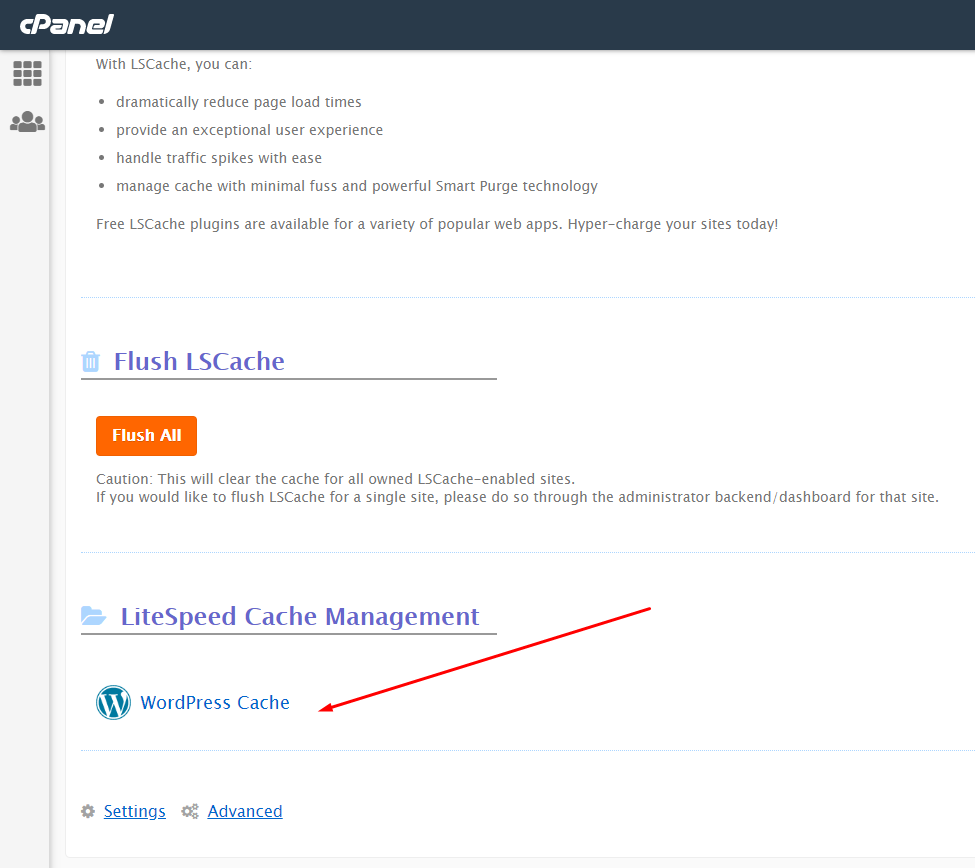
- Click on LiteSpeed Web Cache Manager, where you will get a section with LiteSpeed Cache Management, and under it, you will find WordPress Cache. Do not worry about seeing WordPress in the Manager. It will work correctly with ClassicPress websites as well. Click on WordPress Cache Option.
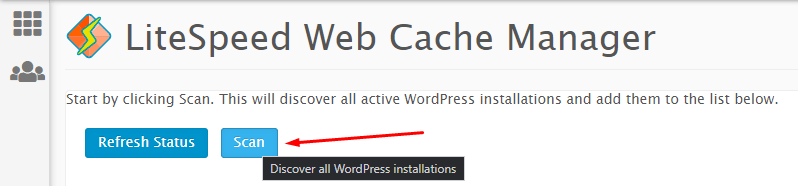
- You will require to scan your account for all ClassicPress Installations so that we can install LiteSpeed Caching Plugin for the Website. Do not worry, if it is showing scan to discover WordPress Websites as it will scan both WordPress and ClassicPress Websites. The scan might take some time, depending upon the total number of websites.
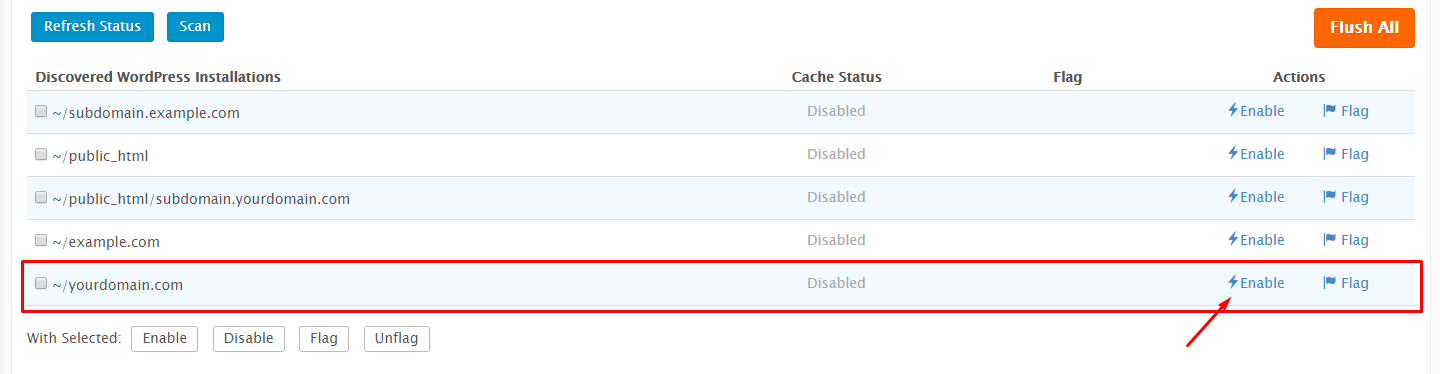
- After scan finishes, you can find your ClassicPress Website that we installed in past steps under Discovered Installations. Click Enable button under Actions Tab for yourdomain.com, and Manager will take few seconds and install LiteSpeed Cache Plugin. After successful installation, it will show a message saying ‘LSCWP Enabled.’
- LiteSpeed Cache Enabled Website will show Cache Status as Enabled like in the below image.

- Now you can check ClassicPress Dashboard > Installed Plugins Section. Here you will find LiteSpeed Cache named installed and activated.

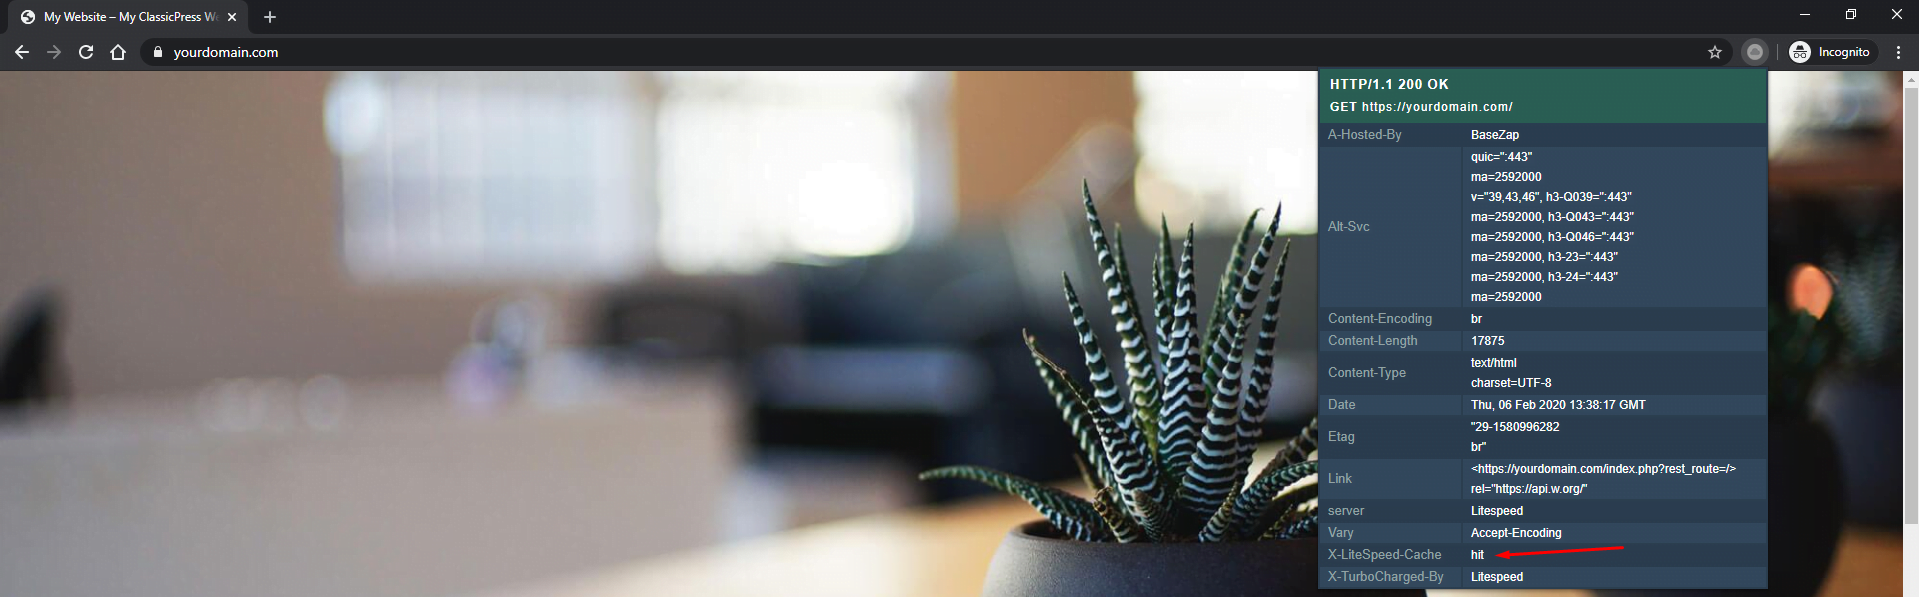
- To further check if LiteSpeed Cache is working on your Website, you can check its headers and find X-LiteSpeed-Cache hit, which will confirm LiteSpeed Cache Plugin is working correctly.
With this, we finish the installing ClassicPress with LiteSpeed Caching Plugin on cPanel based LiteSpeed Web Server.
Here are our plans you may use, which have full support for ClassisPress.
- WordPress Hosting
- Shared SSD Hosting
- DirectAdmin Shared Hosting
- Managed VPS
- Managed Dedicated Servers
You can find all our full range of services by logging in to our Website. Click Here to Visit
Feel free to reach us out if you need kind of assistance with ClassicPress, LiteSpeed, or any technical queries. Shoot us an email at technical@basezap.com, and our professional experts will get in touch with you.