Configure Redis on WordPress Website
Updated on : Apr 21, 2021
Category : WordPress
Redis is a fast, open-source key-value data store for use as a database. It reduces the response time of queries hence increasing the speeds of the website. It is a popular choice to reduce the page loading time. In this guide, we are going to configure Redis on WordPress.
Requirements to Configure Redis on WordPress :
- Redis configured on the server(Installation guide here)
- Redis path
- WordPress installed on domain
- WordPress admin access
- FTP/ Filemanager access to edit files.
Steps :
- Login to your WordPress – admin account.
- Head to the Plugins section and click on Add new, search for
Redisin the search bar and installRedis Object cacheas shown in the following screenshot.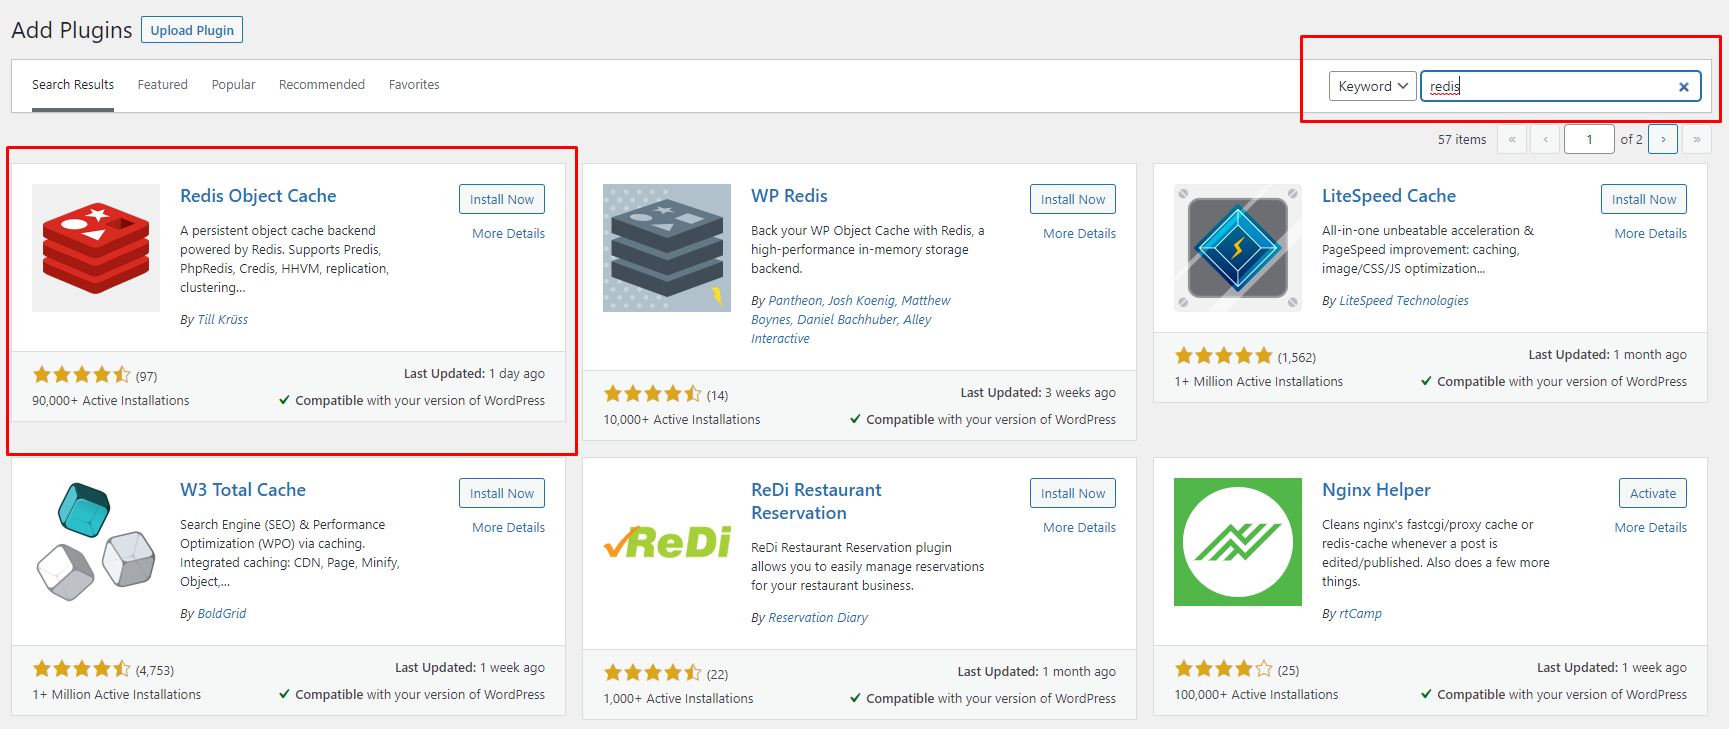
- Open the wp-config.php file of your website and add the following code.
Note: Change the path of your Redis sock file according to your installation.
// Redis define ('WP_REDIS_CLIENT ', 'phpredis'); define ('WP_REDIS_SCHEME', 'unix'); define ('WP_REDIS_PATH', '/run/redis/redis.sock'); define ('WP_REDIS_PORT', 0);Save the file after adding the code. - Head back to wp-admin of your website and activate the Redis plugin.
- After enabling the plugin head to settings of Redis and Enable Object Cache.
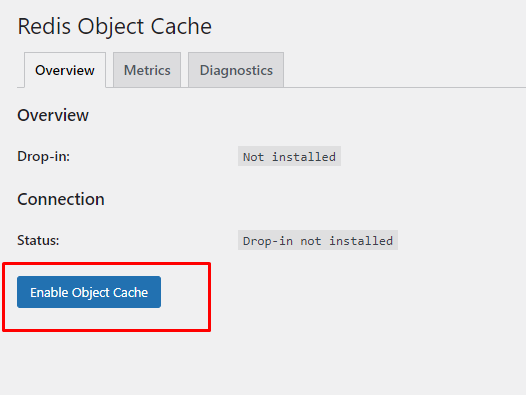
- If the path and installation are successful you should be able to see the following screen.

Congratulation you have successfully enabled Redis on your WordPress website.
You can Learn basic Redis commands in our article here.